Table of Contents
How to share your RowShare tables?
Once your table fits your needs, that it has the right columns, settings, it's time to share it. After all, RowShare is all about sharing and gathering information from others. To access your table,…

Once your table fits your needs, that it has the right columns, settings, it's time to share it. After all, RowShare is all about sharing and gathering information from others.
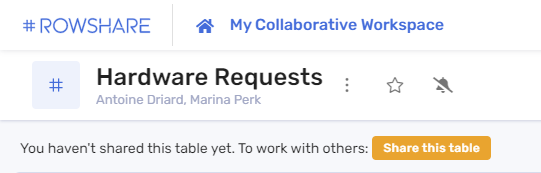
As long as you haven't shared a table, you can see the message below. Click on the orange button to share your table.
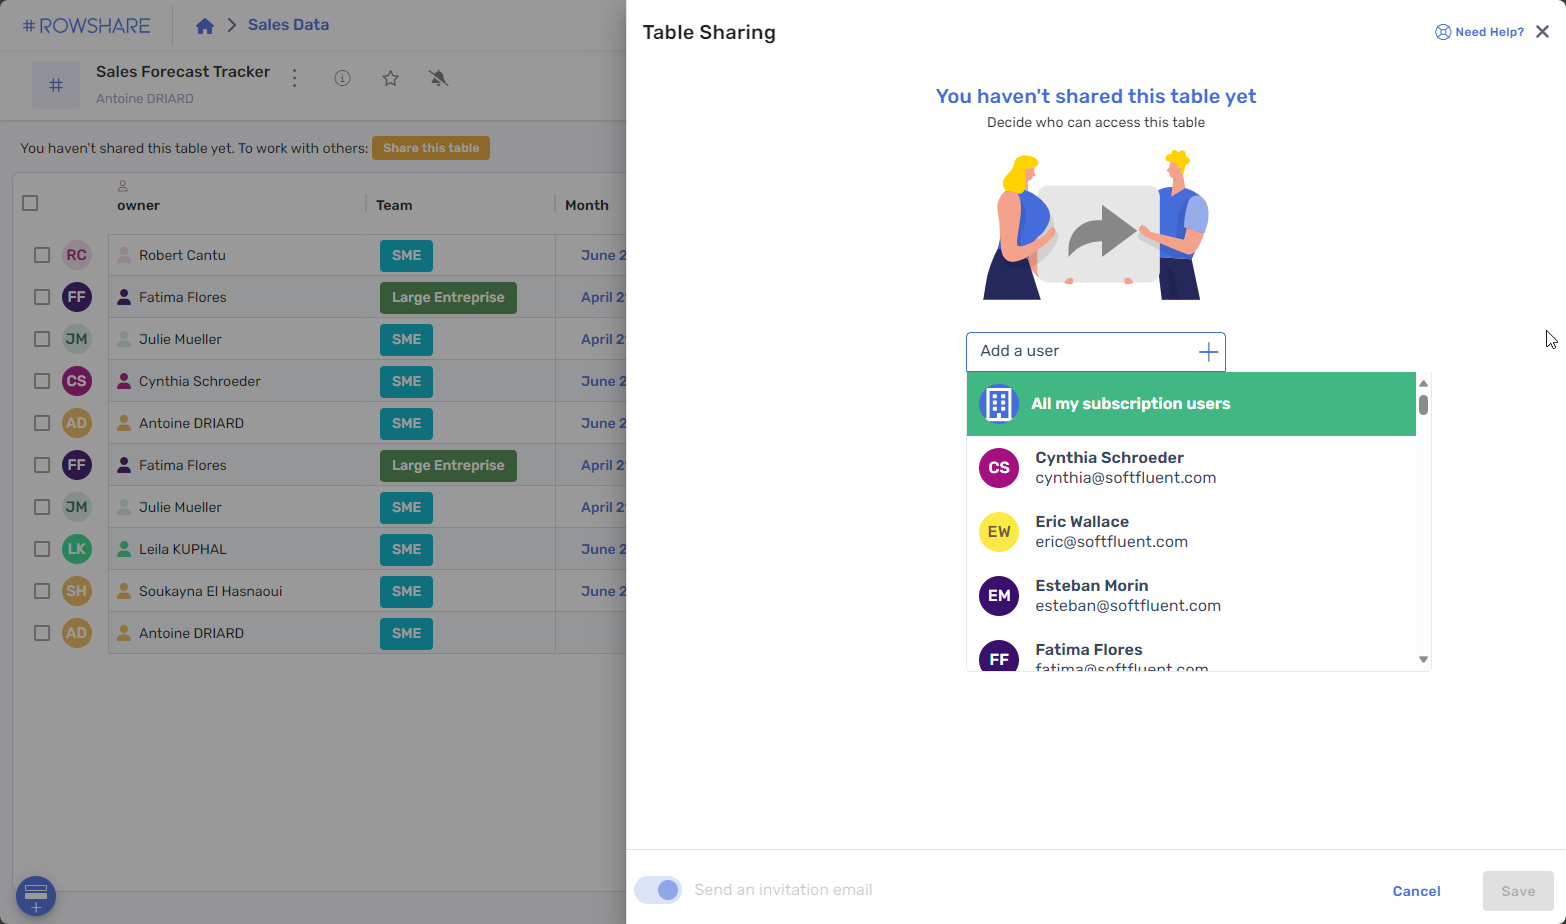
You then need to decide who you want to share the table with, and what you want to share with them.
1. Who do you want to share the table with?
You can share a table with:
- All your subscription users. This includes your current and future users. Anyone added to your subscription will get these permissions.
- A group of users. Groups are defined by subscription admins in the subscription settings.
- A specific user who is already member of your subscription
For these 3 options, just select the appropriate entry in the drop down menu.
2. What do you want them to access in the table?
- rows they have created
- rows someone has assigned to them
This allows to create a unique global table where all the data is consolidated although each user will only see the data relevant to them.
This is where you decide what each user can access in the table, and the specific permissions you want to grant them. This can be simple or... advanced 😉.
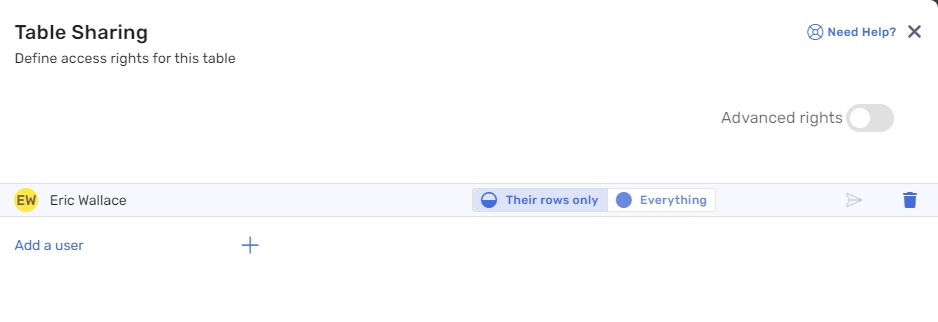
2.1. Simple permissions
This is the default option if you share a new table. You have 2 options for each user or group you grant permissions to:
- access everything: they will see all the rows in the table
- access their rows only: they will only see the rows they create or that are assigned to them.
2.2. Advanced permissions
Click on Advanced rights at the top right of the permissions panel.
You instantly get more options to control what your users can do. For each user or group of users, you can decide if they will be allowed to:
- View: do they see nothing, their rows only or everything?
- Add: are they allowed to add rows in this table?
- Edit, Delete and Assign : do you allow them to edit/delete/assign nothing, their rows only or everything?
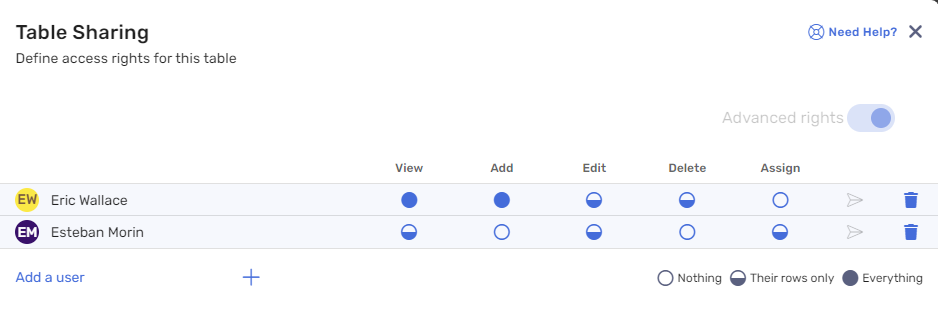
Example: In the picture above:
- Eric Wallace can view all rows and add new rows. But he can edit and delete only his own rows, and he can't (re)assign any row.
- Esteban Morin can only view, edit and assign his own rows. He can't add new rows and can't delete rows either.
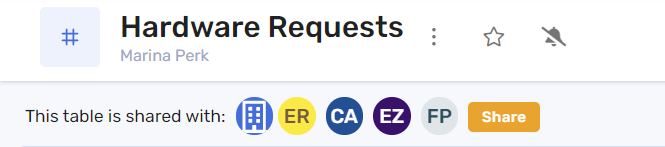
3. Check who has access to a table
Once your table is shared, the table will show icons under the table name to remind you who has access to your table. Click on any of these icons to see and/or modify these permissions.
Click on the Share button at the right of these icons to grant access to additional users.
4. Additional sharing options and details
- New or modified permissions are only effective after clicking on Save
- New permissions can be notified by email. But modifying an existing permission never triggers an email.

- Users registered in the subscription as Read-Only Users will never be allowed to write in a table, regardless of the permissions you grant them.
2 Additional options can be found in the table settings:
- External Access: This option makes your table available to anyone who knows its URL (web page address). Even if they don't have a RowShare subscription. External Access is read-only, and always shows the full table.Allow External Access requires the equivalent setting to be activated in the subscription settings. This can be done by a subscription Admin.
- One row per user: non-admin users can not create new rows if they have at least one row already assigned to them
How did we do?
How to assign your RowShare rows?